Are you wondering how to light your patio heater manually, quickly and safely? If so, you’ve come to the right place. In this guide, we will take you through a step-by-step process on how to light your patio heater manually and provide you with safety precautions to ensure you stay safe while enjoying the warmth and comfort it provides on chilly evenings.
How to Quickly and Safely Light Your Patio Heater Manually
By reading this article, you will learn:
– The necessary steps to light your patio heater manually
– How to prioritize safety while using your patio heater
– The importance of regular maintenance for your patio heater
Step 1: Understand Your Patio Heater’s Manual
The first step to lighting your patio heater manually is to read and understand the manufacturer’s instructions and safety precautions. This will help you become familiar with the lighting process and highlight potential hazards.

Step 2: Gather Supplies
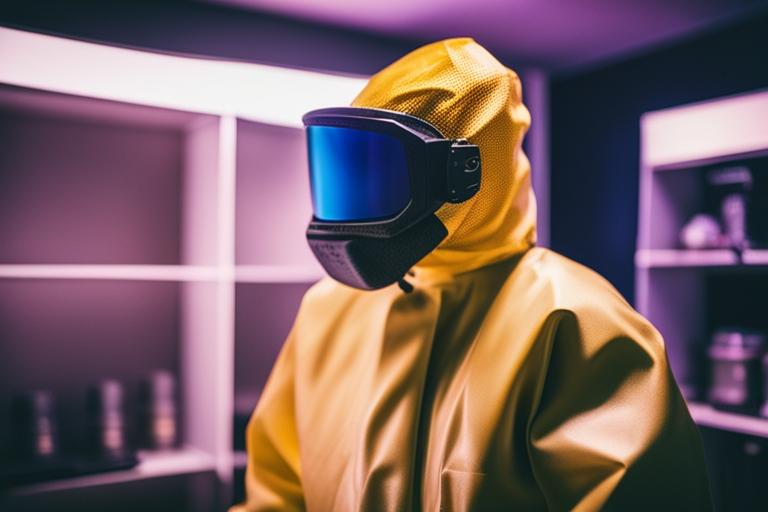
Gather all the necessary supplies before attempting to light your patio heater. You will need a long lighter or matches, protective gear such as gloves and goggles, and a clear area free of flammable materials. Keep these supplies nearby to avoid having to move away from the heater while lighting it.
Step 3: Turn off the Gas Supply
Before attempting to light your patio heater manually, ensure that the gas supply is turned off. This will prevent accidents and gas leaks. Locate the gas valve, usually near the propane tank or natural gas line, and turn it off. You can also turn off the valve at the heater’s base if it has one.

Step 4: Locate the Pilot Light
The next step is to locate the pilot light, which is usually at the bottom of the patio heater and identified by a small knob or switch. Refer to your patio heater manual for detailed instructions on locating the pilot light.
Step 5: Light the Pilot Light
Using a long lighter or match, light the pilot light while holding down the gas knob for approximately 30 seconds. This allows the thermocouple to heat up, which is necessary for igniting the main burner. If the pilot light doesn’t light up, turn off the gas supply and wait for a few minutes before attempting to light it again.
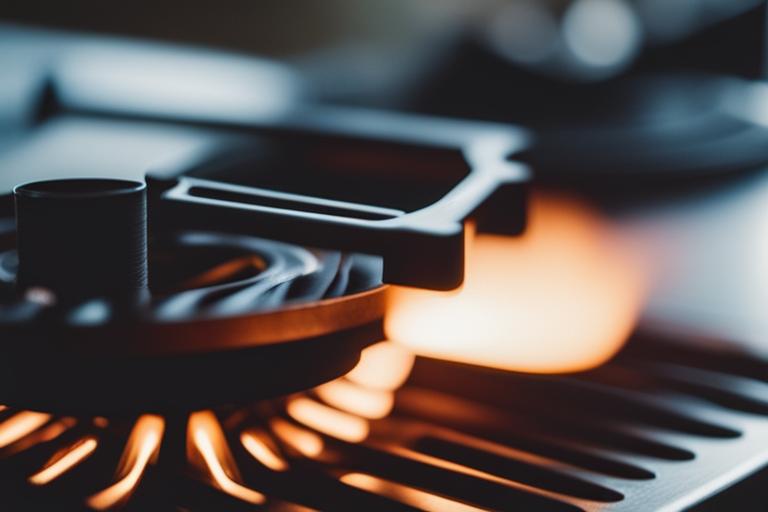
Step 6: Turn on the Main Burner
Once the thermocouple has heated up, turn the gas knob to the “on” position to ignite the main burner. If the main burner doesn’t light up, turn off the gas supply and repeat the lighting process. Avoid forcing the ignition, as this can cause gas to build up, leading to an explosion.
Step 7: Adjust the Heat Settings
After successfully lighting the patio heater, adjust the heat settings to your desired temperature by adjusting the gas knob up or down. This will help you achieve the right heat level without wasting gas or overheating your patio heater.
Step 8: Monitor the Heater
Keep a close eye on your patio heater while it’s in use. If you notice any unusual smells or signs of gas leaks, turn off the gas supply immediately and contact a professional. Never leave the heater unattended while it’s in use, especially if you have children or pets around.
Step 9: Turn off the Heater
When you’re done using your patio heater, turn off the gas supply and allow it to cool down before storing it away. This prevents gas from leaking and reduces the risk of fire or explosion.
Safety Precautions
Prioritizing safety when lighting your patio heater manually is crucial. Wear protective gear, including gloves and goggles, and keep the area around the heater clear of flammable materials. Never use gasoline or other flammable liquids to start your patio heater, as this can cause a fire or explosion.
| Maintenance Tips | Description |
|---|---|
| Clean the Heater | Regularly clean the heater to remove any dust, debris, or spider webs that may clog the burners. Use a soft-bristled brush or compressed air to clean the heater. |
| Check for Gas Leaks | Inspect the hose and connections for any signs of gas leaks. Perform a leak test before using the heater each time. |
| Replace Damaged Parts | If any part of the heater is damaged or worn out, replace it immediately to prevent accidents or malfunctions. Refer to the manufacturer’s manual for replacement instructions. |
Maintenance
Regular maintenance of your patio heater is essential to ensure it remains in good working condition. Clean the heater regularly, check for gas leaks, and replace any damaged or worn-out parts. This will help extend your patio heater’s lifespan and keep it functioning optimally.
Personal Experience: The Importance of Regular Maintenance
Regular maintenance of your patio heater is essential to ensure it remains in optimal working condition. Neglecting maintenance can lead to malfunctioning parts and potentially dangerous situations.
I learned this the hard way when I failed to regularly clean my patio heater. One chilly evening, I attempted to light it manually, but the main burner would not ignite despite multiple attempts. Frustrated, I left the heater unattended for a few minutes while I went inside to look up troubleshooting tips.
When I returned, I noticed a strange smell and immediately turned off the gas supply. Upon closer inspection, I discovered a gas leak caused by a damaged gas hose. I was lucky to have caught it in time and avoided a potentially catastrophic situation.
After replacing the damaged gas hose, I made a commitment to regularly clean and maintain my patio heater. Since then, I have not encountered any issues with lighting the heater manually and feel confident in its safety and reliability.
Regular maintenance may seem like a hassle, but it is a small price to pay for the peace of mind that comes with a well-functioning patio heater.
Conclusion
In conclusion, lighting your patio heater manually can be quick and safe if you follow the steps outlined in this guide. Prioritizing safety and conducting regular maintenance will help keep your patio heater in optimal working condition, allowing you to enjoy the warmth and comfort it provides on chilly evenings. Remember to turn off the gas supply when not in use and store it in a safe, dry place away from children and pets. Stay safe and warm!
Insider Tips:
“When lighting your patio heater, keep an eye on the pilot light to ensure it stays lit while you turn on the main burner. Always ensure you have your protective gear on before starting to light your patio heater. This includes gloves and goggles, as they protect your hands and eyes from sparks and other debris.”
Questions
Who can manually light a patio heater?
Anyone can manually light a patio heater with proper instructions.
What do I need to manually light a patio heater?
You need a lighter, matches, or a long-stemmed lighter.
How do I manually light a patio heater?
Turn on the gas, ignite the lighter, and hold it near the burner.
What should I do if the patio heater won’t light?
Check the gas supply and connections, and try again.
How can I light a patio heater safely?
Follow manufacturer instructions, keep flammable materials away, and use a long-stemmed lighter.
What if I’m still not comfortable manually lighting my patio heater?
Consider hiring a professional to inspect and service your patio heater.
Follow us!!